Quick answer
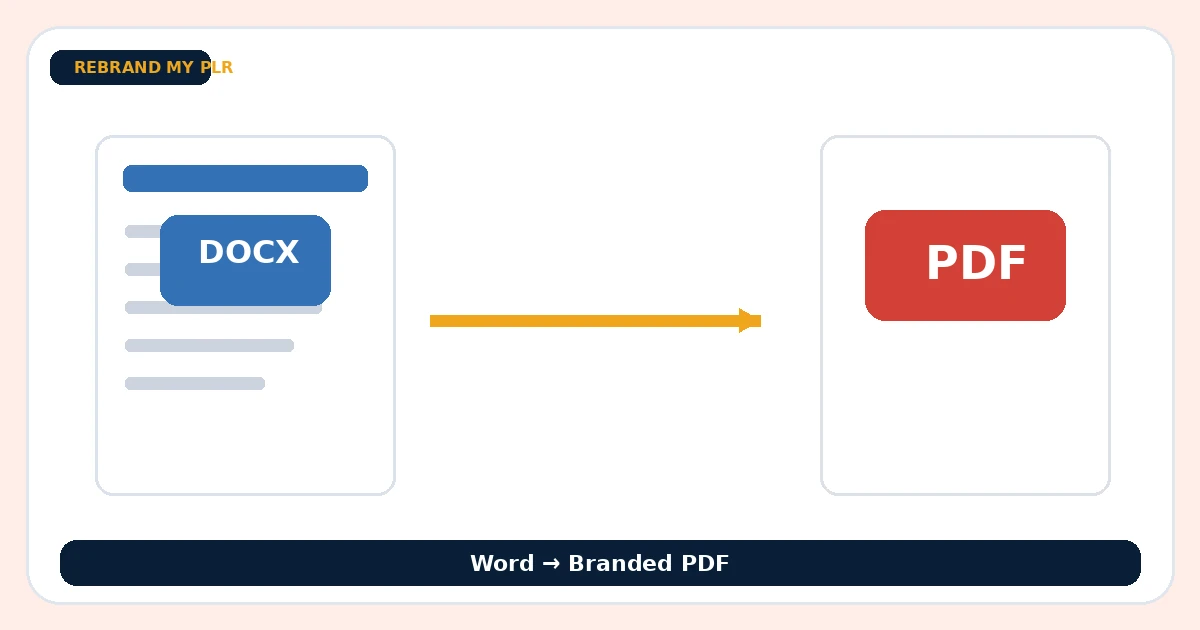
To turn a Word document into a branded PDF, clean the structure first, define your visual system, add a cover and contents page, insert your links and export a tested final version.
What to prepare first
- The source Word file
- Brand colors, logo and URL
- A clear title and subtitle
- A CTA or destination page
- A PDF quality checklist
Clean the source file before you brand it
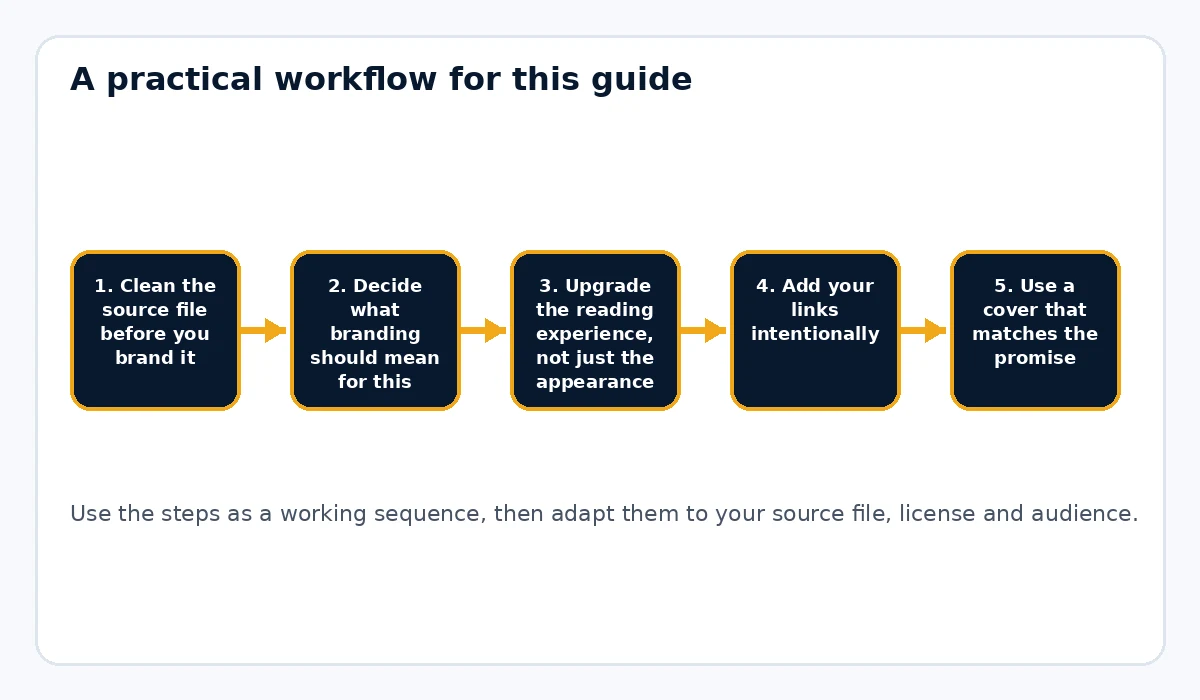
Branding is easier when the underlying document is clean. In Word, correct heading levels, list spacing, blank lines and section order before worrying about colors. A sloppy source document almost always creates a messy PDF.
Decide what branding should mean for this document
Branding is not just dropping a logo at the top. For a useful PDF, branding usually includes a cover style, one heading font family, one body font family, a color palette, footer text and link styling. If you want a repeatable workflow, keep those rules simple enough to reuse across many files.
Upgrade the reading experience, not just the appearance
A branded PDF should be easier to use than the source document. Add a contents page when appropriate, use visible chapter dividers and make sure headings are scannable. Readers notice when a PDF feels organized, even if they cannot explain why.
Add your links intentionally
A lead magnet or digital product should contain a logical next step. Add your website or offer in the footer where appropriate, but also use a clear final page that tells the reader exactly what to do next. That might be booking a consultation, downloading a template, joining a list or viewing your paid offer.
Use a cover that matches the promise
The cover is one of the quickest ways to change a plain Word file into a product-style PDF. Keep the title short, the subtitle specific and the visual treatment aligned with the audience. A cluttered cover usually makes the whole PDF feel amateurish.
Use a tool or workflow that saves you repetition
If you create a lot of reports, checklists or product PDFs, manually styling each one in Word can become slow. Rebrand My PLR works well when you want to feed in a Word, text or Markdown document and apply a cleaner branded output more consistently.
Export and test the PDF like a buyer would
Open the finished PDF after export. Check the cover, page breaks, links, footer, contents page and final CTA. Then open it again on a phone or smaller screen to see whether headings, spacing and images still feel balanced.
Practical example
Suppose you wrote a six-page tutorial in Word for new email-list builders. You can clean the headings, rename the file with a tighter promise, add a branded cover, include a contents page, add your site link in the footer and export a polished PDF that feels like a finished downloadable asset instead of a draft document.
Common mistakes to avoid
- Exporting to PDF before checking headings and spacing
- Using too many fonts or too many colors
- Skipping the final CTA or next-step page
- Leaving long, ugly raw links inside the document
- Treating the PDF like a screenshot of Word instead of a readable product
Use hierarchy to make the document easier to scan
A polished PDF should communicate structure before the reader studies every sentence. Main chapters need to look different from subsections, and subsections need to look different from body text. Lists, tips and warnings should have predictable treatments. This hierarchy helps readers jump back into the document later and makes long material feel less intimidating. In Word, that starts with real heading styles rather than manual bolding. In the final PDF, it means size, spacing and visual treatment are used consistently. Good hierarchy is one of the biggest differences between a document that looks exported and a document that looks published.
Handle screenshots and images like publishing assets
If the document includes screenshots, charts or product images, check them at the size they will actually appear in the PDF. A large screenshot squeezed into a narrow column may make the important text unreadable. Crop away empty browser chrome where possible, use captions when the image needs context and do not stretch images beyond their natural proportions. Alt text matters on web pages; inside a PDF, descriptive surrounding text and clear captions still improve usability. The goal is not to add pictures for decoration. Every image should explain, prove or demonstrate something the text is discussing.
Keep the final file practical to download and open
High-resolution graphics can make a short report unnecessarily large. After export, check the PDF file size as well as the visual quality. For an email-delivered lead magnet, a lighter file is usually preferable as long as screenshots remain readable. Give the file a descriptive name, such as email-welcome-sequence-guide.pdf, instead of document-final.pdf. Confirm that it opens without font warnings and that links work in a normal PDF viewer. These finishing details are not glamorous, but they affect whether the reader experiences the asset as professional.
Before-and-after example
Start with a six-page Word tutorial about planning an email welcome sequence. The raw file may have a title, several bold lines and a few bullets. Clean the headings, split the tutorial into five clear steps, add a cover, create a contents page, style the examples consistently and add a closing page pointing to your email-marketing toolkit. After export, the same information feels like a downloadable guide rather than an attachment. The improvement comes from structure and publishing decisions, not from changing the file extension alone.
Final publishing check
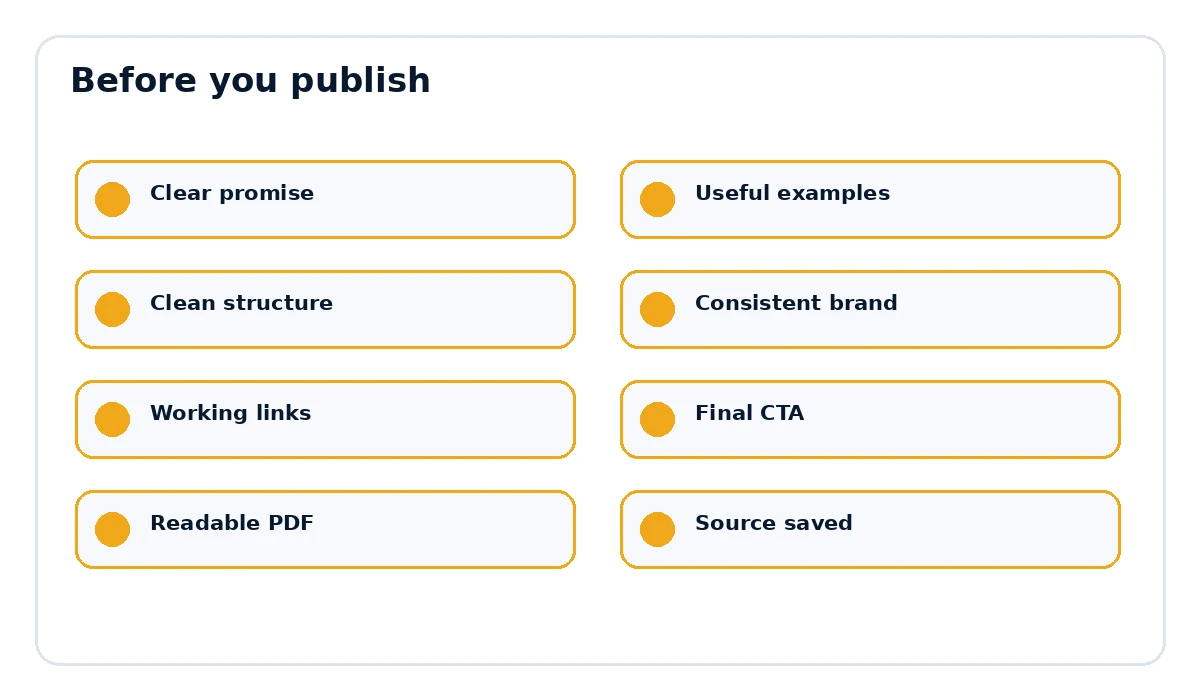
- The page title and document title match the actual promise.
- Examples, links and references are current and relevant.
- The document is easy to scan on desktop and mobile.
- The final call to action points to the correct destination.
- The exported PDF opens cleanly and every important link works.
Want the final document to look like a finished product?
Rebrand My PLR helps turn Word, text and Markdown files into more polished branded PDFs with a clearer cover, cleaner sections and a stronger final presentation.
See Rebrand My PLRFrequently asked questions
What is the difference between converting Word to PDF and branding a PDF?
Conversion only changes the file format. Branding improves the cover, structure, hierarchy, links and overall reading experience.
Can I create a branded PDF without design software?
Yes. You can use document templates or a browser-based formatting workflow instead of building every page manually in a graphic editor.
Should I keep the original Word document?
Yes. The source file makes future edits and re-exports much easier.